Wondering how it works?
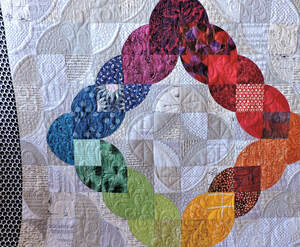
- You contact me for an appointment to bring (or mail) your quilt to my home in Edmonds.
- We talk about what you’d like, including design choices, thread, and batting.
- I give you a written estimate for the quilting, as well as a timeline for completion. I'm currently scheduling quilts several months out; timing depends on the season and the complexity of your quilt.
- You leave the quilt with me and I quilt it.
- You pick up your quilt and pay me. I accept checks and cash. (I also accept Paypal and Venmo with an additional 3% merchant fee. I don't accept credit cards.)
Pricing
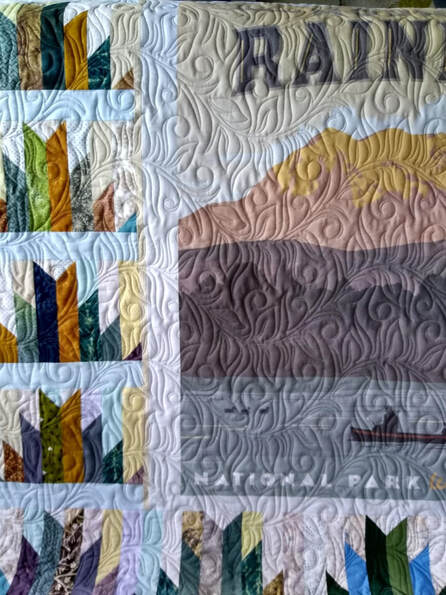
The cost of quilting depends on what design(s) you want on your quilt. I offer two types of quilting. Edge-to-edge (E2E) is a design that's quilted from one side of your quilt to another, across the whole quilt. It uses a repeating pattern (called a pantograph), and your choice of patterns is extensive! E2E quilting ranges from 3.5-5.5 cents/square inch, depending on the density you choose. This price range allows you to choose your own scale and density of the quilting, instead of a default large size (which can be the case with businesses who charge one flat low price for all their E2E designs).
The minimum charge for quilting an E2E design is $90 per quilt. Note that small quilts usually fall under this minimum, but will be charged the minimum amount.
As an example, a typical queen sized quilt of 80 x 90 inches would cost $252 using a 3.5 cent design, and a typical twin quilt measuring 70 x 86 would cost $210 using a 3.5 cent design.
An all-over meander, horizontal, or vertical straight-line quilting also start at 3.5 cents/square inch, and increase to 4 cents for lines closer than 2 inches apart.
See a sampling of E2E patterns here and in my Quilt Gallery.
Here's a great YouTube video to help you choose a quilting design! And here's another one.
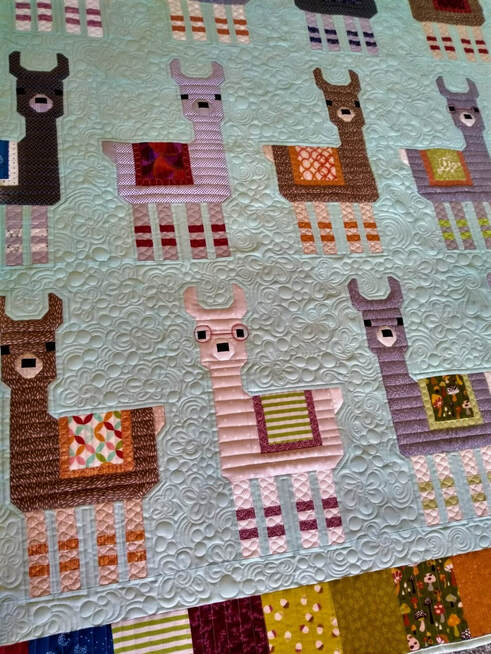
The second type of quilting is custom quilting. In custom quilting, the quilter places different designs in different places on the quilt. This makes custom quilting more artistic, time consuming, and personalized than E2E quilting.
Light custom quilting involves quilting designs in specific places on the quilt, often based on the piecing of the quilt, and can include multiple patterns, a light amount of ruler work such as light stitch in the ditch (SID), or multiple block motifs. This level is priced at 7-8 cents/square inch, and is a great choice when you want something unique but still budget-friendly.
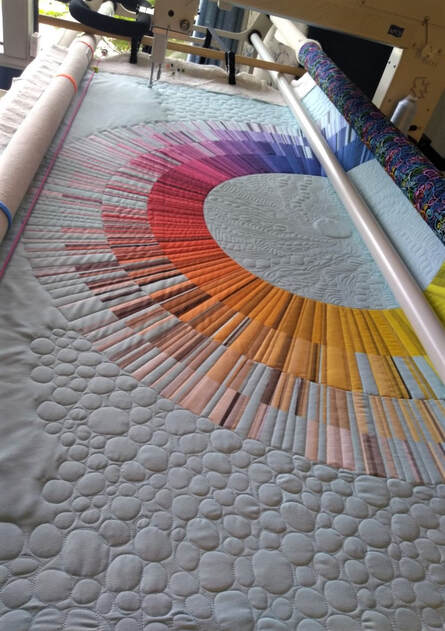
Full custom quilting results in a special, one-of-a-kind work of art! Full custom can include multiple motifs and blocks, flowers/feathers, geometric designs, SID, denser quilting such as pebbles, separate border treatments, etc. This level includes more extensive ruler work, marking of a quilt, and thread changes. Full custom is priced at 9-12 cents/ square inch depending on density and complexity of the quilting.
The minimum charge for custom quilting is $200. I limit custom quilts to 2/month, so there is a longer lead time than for edge to edge quilting.
You can see examples of custom quilting in my Quilt Gallery. (Please note I do not offer heirloom quilting.)
Let's Talk!!
In this era of gorgeous Instagram pictures, amazing fiber artists we drool over on the Internet, and mini-computers in our pockets all the time, it's easy to conclude that all our quilts should be gorgeous and absolutely perfect. But we're all human, not perfect! I am proud of the work I do--you can see it in my pictures--and I know I'm not perfect...none of us are. I'll be honest about what I can provide for you, and I encourage you to be honest about what your expectations are. Communication is key to this relationship.
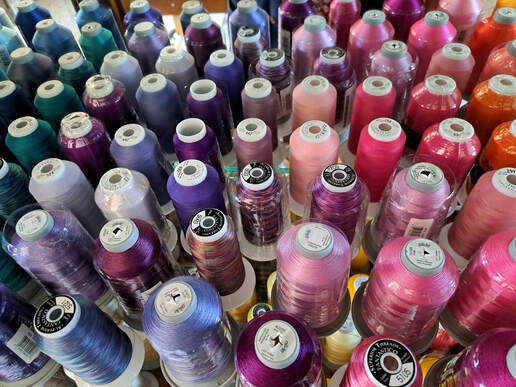
Thread I use Superior threads (So Fine, Bottom Line, Fantastico) Fil-tec (Glide), and Wonderfil, and I have a variety of beautiful colors to choose from. Thread is an additional flat charge of $10-$20 depending on the size of your quilt. Unfortunately, I cannot accept customer-provided thread.
Batting You are welcome to provide your own batting for use (make sure it's not flimsy or so thin that it pulls apart when handled), or you can purchase from me. I stock Hobbs Heirloom Premium 80/20 cotton poly blend ($18.00/yard, 96 inch wide, not a lot of loft, but more than 100% cotton, lighter and more durable than cotton, machine washable/dry, shrinks 3-5%) and Hobbs Heirloom Wool ($20.00/ yard, 108 inch wide, soft and luxurious feel, brings out piecing and stitching, doesn't hold wrinkles so it's great for wall quilts, great warmth without weight, "breathes" well, more loft than 80/20, also shrinks 3-5%, machine washable in cold water/air dry but best if dried flat). Visit Hobbs Batting to determine the best type of batting for your project.
Other services: I will trim your quilt edges after quilting at no charge, and I offer the following services at $30/hour: machine basting quilts, pressing the quilt top/back, shopping for backing fabric, pre-washing backing, piecing backing, and extensive thread clipping on quilt backing.
Please note that I only offer binding services to people who can't do it themselves. You can do this! There are helpful videos out there :)
Binding charges:
.15/linear inch partial binding (you provide ready-to-use binding; machine sewn to the front of the quilt and you sew it to the back).
.20/linear inch front/back binding (you provide ready-to-use binding; machine sewn to the back & turned to the front and machine sewn).
.25/linear inch complete binding (I make the binding and machine sew it on the quilt--you go home with a finished quilt!).
WA State tax of 10.8% will be charged on all services.
How to Prepare your Quilt for Long Arm Quilting
Quilt Preparation
Quilt Top
Quilt Backing and Batting
- Don’t baste any of the layers together. I can't load your quilt if you've pin basted it, so please take the pins out.
- Tip: when measuring how long to cut your borders before adding them to your quilt top, measure through the center of the quilt top as well as the outer edges, and average these 3 measurements together to cut your borders to. Match outer edges and centers, and ease in any fullness. This will go a LONG way towards reducing "wavy borders." Search YouTube for videos on how to do this if you don't understand. This video from National Quilter's Circle is a great one.
Quilt Top
- Press all your seams flat (not necessarily open, just flat). Clip loose threads, especially if you have dark threads on the back of a light-colored quilt top. Make sure your top is nice and square. Measure your quilt across the bottom, middle, and top. These three measurements should be pretty close to identical! If not, your quilt corners may not be square after quilting. Spray starch is a great way to get near-perfect cutting, sewing, and pressing results. If you're having trouble with wavy borders and uneven blocks, try a spray starch during the construction process next time.
- If your quilt is directional, mark the TOP of your quilt with a safety pin.
- Check your seams to make sure there are no gaps or holes. If any seams extend to the edge of your quilt, stay stitch 1/8 inch from the edge of the quilt across the seams to secure them.
- Remove any pins, buttons, or other embellishments from your quilt top for later.
Quilt Backing and Batting
- Both the backing and batting need to extend 5 inches further than each edge of your quilt top, so that your backing fabric and batting are 10 extra inches bigger than your quilt, in both length and width. More is ok, less is not. Here's an example: If your quilt top is 52 x 60, your backing and batting should be at least 62 x 70 inches. This gives me an extra 5 inches on each of the four sides of your backing to load your quilt easily. If you have problems with this, contact me, and we can talk about options. This additional fabric is necessary because I use a rod and snap system to load the fabric onto my longarm machine, instead of pins (which take longer and may result in blood on your quilt, lol!).
- When possible, leave the selvages on the outer edges of your backing fabric, as they provide a nice straight edge to attach to the long arm. If you've sewn the selvages together in the middle of your backing to form a seam, make sure to cut the selvage off, or at least snip them, as selvage shrinks differently from the rest of the fabric. (If you're wondering what the selvage is, read this!)
- If you piece your backing, run the seam(s) parallel with the longest side when possible. This makes it easier to keep everything straight while quilting. However, there's no need to run a seam exactly through the middle of the backing.
- Please don't sew a border fabric around the outer edges of your backing (essentially "framing" the backing like a picture frame). It's very challenging to perfectly center the quilt top in a specific place over the backing on a longarm machine, and it's possible that some of the "frame" fabric will land on one edge of your quilt, but not another, making the back of your quilt look a little odd!
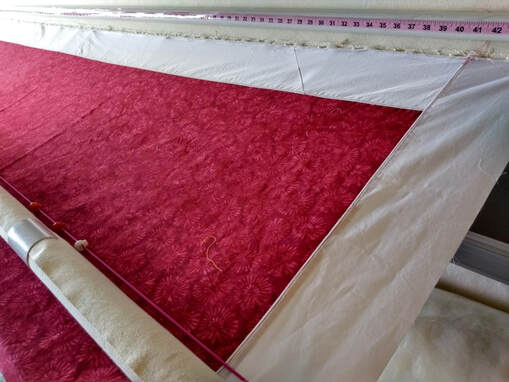
<<<===Don't "frame" your backing like this.
If your quilt is directional, mark the TOP of your backing with a safety pin. Make sure your backing is cut evenly and as straight as possible. Straight, square edges are best--all FOUR SIDES please :)
Backing Fabric Information
Select your backing fabric with as much thought as you give to your quilt top. Pieced backings can result in bagginess, fullness and pleats, because it's hard to create perfectly straight seams when joining multiple pieces together. This is especially true when you join fabrics with their weave running different directions, because the fabric stretch won't be consistent across the back. "Party in the back" is fun, but can result in problems sometimes.
Combining different types of backing fabrics (mixing cottons and batiks, for instance) can create thread tension issues, because different fabrics need different thread tensioning, and the quilter can't change the tension every time there's a change in backing fabrics.
Wide back fabrics can be a good choice, if they're quality fabrics. Many don't tear straight, so don't rely on tearing the fabric to get a straight edge. They can also shrink significantly, like 3-4 inches, so if you're using a wide back, be sure to pre wash it.
Batik fabrics can be challenging as backings because they have a dense weave, which is more likely to show needle holes and batting pokies, and can create thread tension issues.
Print fabrics do a better job of hiding tension inconsistencies than solid fabrics.
Lastly, pre-washing your backing fabric usually results in better thread tension, as it removes finishes applied to the fabric during production which can make balanced tensioning challenging (especially true with panel fabrics).
Disclaimers
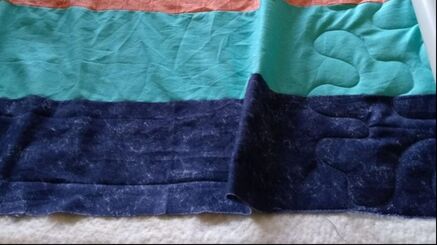
If your quilt has fullness and/or puckers, unfortunately they cannot be quilted out. I can’t guarantee that puckers and tucks won’t be sewn in. In some cases, excessive fullness in borders may result in the quilt corners not being square. The flatter your quilt top is, the better your finished quilt will be. I will definitely try to work in any fullness, but cannot guarantee this! If you're having trouble with your borders, there are some great YouTube videos on attaching borders to solve these problems.
If your quilt has fullness and/or puckers, unfortunately they cannot be quilted out. I can’t guarantee that puckers and tucks won’t be sewn in. In some cases, excessive fullness in borders may result in the quilt corners not being square. The flatter your quilt top is, the better your finished quilt will be. I will definitely try to work in any fullness, but cannot guarantee this! If you're having trouble with your borders, there are some great YouTube videos on attaching borders to solve these problems.